Drone自动化部署vue

Drone自动化部署vue
最近在学习开发vue项目,同样需要部署到服务器,刚好之前一直在弄Drone自动化部署,所以也打算自动化部署vue项目,通过摸索最终成功完成自动化部署,同样在这里跟大家分享。
一、准备代码
我们需要提前建好仓库以及vue项目代码,并且保证本地能运行这个vue项目。
二、 准备镜像打包文件
我们在vue项目下创建一个文件名为Dockerfile,用于构建我们的vue镜像,配置如下
FROM nginx:1.15-alpine
COPY ./dist /usr/share/nginx/html
三、创建部署文件
我们需要提前到部署服务器创建一份docker-compose.yml文件,用于部署我们的vue服务,我将docker-compose文件放在/home/dockerConfig/project/vue-study目录下,部署配置如下
version: "3"
services:
  vue_study_compose:
    image: hongzhuangxian/vue-study
    container_name: docker_vue_study_compose
    volumes:
    - /etc/localtime:/etc/localtime:ro
    environment:
    - SET_CONTAINER_TIMEZONE=true
    - CONTAINER_TIMEZONE=Asia/Shanghai
    restart: always
    ports:
    - 8083:80
这里我们的代码镜像是
hongzhuangxian/vue-study
容器名称为
docker_vue_study_compose
同时设置容器时区为上海时区,服务器8083端口映射容器80端口。
四、自动化部署配置
我们在vue项目下创建.drone.yml文件,用于自动化部署我们的项目,配置如下
kind: pipeline
type: docker
name: vue-study

#设置挂载
volumes:
  #Vue编译缓存目录
  - name: cache # 数据卷名称
    host: # Host Volume
      path: /home/drone/cache/vue-studys # 宿主机目录    #绝对路径
  #Docker环境
  - name: docker
    host:
      path: /var/run/docker.sock
  #Docker配置
  - name: docker-daemon
    host:
      path: /etc/docker/daemon.json
#构建步骤
steps:
#设置全局配置
- name: clean
  image: docker:19.03.1
  pull: if-not-exists
  network_mode: host
  # 将宿主机的 docker和配置挂载到运行的 docker 容器中,那么在容器中运行 docker 命令时,等同于在宿主机中运行该docker 命令
  volumes:
    - name: docker
      path: /var/run/docker.sock
    - name: images
      path: /images
    - name: docker-daemon
      path: /etc/docker/daemon.json
#加载缓存
- name: restore-cache
  image: drillster/drone-volume-cache
  pull: if-not-exists
  settings:
    restore: true
    mount:
      - ./.npm-cache
      - ./node_modules
  volumes:
    - name: cache
      path: /cache
#node安装
- name: npm-install
  image: node:10
  pull: if-not-exists
  volumes: # 挂载数据卷(此为容器内的目录)
    - name: node_modules # 数据卷名称
      path: /drone/src/node_modules # 容器内目录 绝对路径
    - name: deploy_path
      path: /drone/src/html
  commands:
    - npm config set cache ./.npm-cache --global
    - npm install
#打包
- name: build-dist
  image: node:10
  pull: if-not-exists
  volumes: # 挂载数据卷(此为容器内的目录)
    - name: node_modules # 数据卷名称
      path: /drone/src/node_modules # 容器内目录 绝对路径
    - name: deploy_path
      path: /drone/src/html
  commands:
    - npm run build
#构建缓存
- name: rebuild-cache
  image: drillster/drone-volume-cache
  pull: if-not-exists
  settings:
    rebuild: true
    mount:
      - ./.npm-cache
      - ./node_modules
  volumes:
    - name: cache
      path: /cache
#推送镜像至镜像仓库
- name: publish
  image: plugins/docker
  pull: if-not-exists
  volumes:
    - name: docker
      path: /var/run/docker.sock
    - name: cache
      path: /cache
  mirrors:       #镜像仓库加速地址,不需要加速,可以直接删除
    from_secret: registry_mirrors
  settings:
    purge: false
    registry:   #镜像仓库域名
      from_secret: registry
    repo:        #镜像仓库详细地址
      from_secret: repo
    use_cache: true
    tags:
      - latest
    username:    #镜像仓库账户
      from_secret: registry_user_name
    password:    #镜像仓库密码
      from_secret: registry_password
#部署容器服务
- name: ssh commands
  image: appleboy/drone-ssh
  pull: if-not-exists
  settings:
    host:
      from_secret: ssh_ip
    port: 22
    username:
      from_secret: ssh_user_name
    password:
      from_secret: ssh_password
    script:
      - cd /home/dockerConfig/project/vue-study
      - docker-compose pull && docker-compose up --force-recreate -d
      - docker rmi $(docker images | grep go-fblsj/vue-study | grep none | awk  '{print $3}')
#通知发到telegram
- name: telegram
  pull: if-not-exists
  image: hongzhuangxian/telegram-drone-plugin
  settings:
    proxy_url: "https://telegram.hongzhuangxian.cn"
    token:
      from_secret: telegram_token
    chat_id:
      from_secret: telegram_chat_id
#规定master分支,触发构建
branches: master
篇幅可能有点长,我这里简单跟大家描述下整个过程

这个就是整个自动化的过程,这里面我们用到了缓存,主要是为了加快每次的构建,我们需要提前在Drone运行服务器里提前建好缓存目录,我这里用的是/home/drone/cache/vue-studys目录,大家根据自己情况建,同时需要到Drone管理面板开启缓存
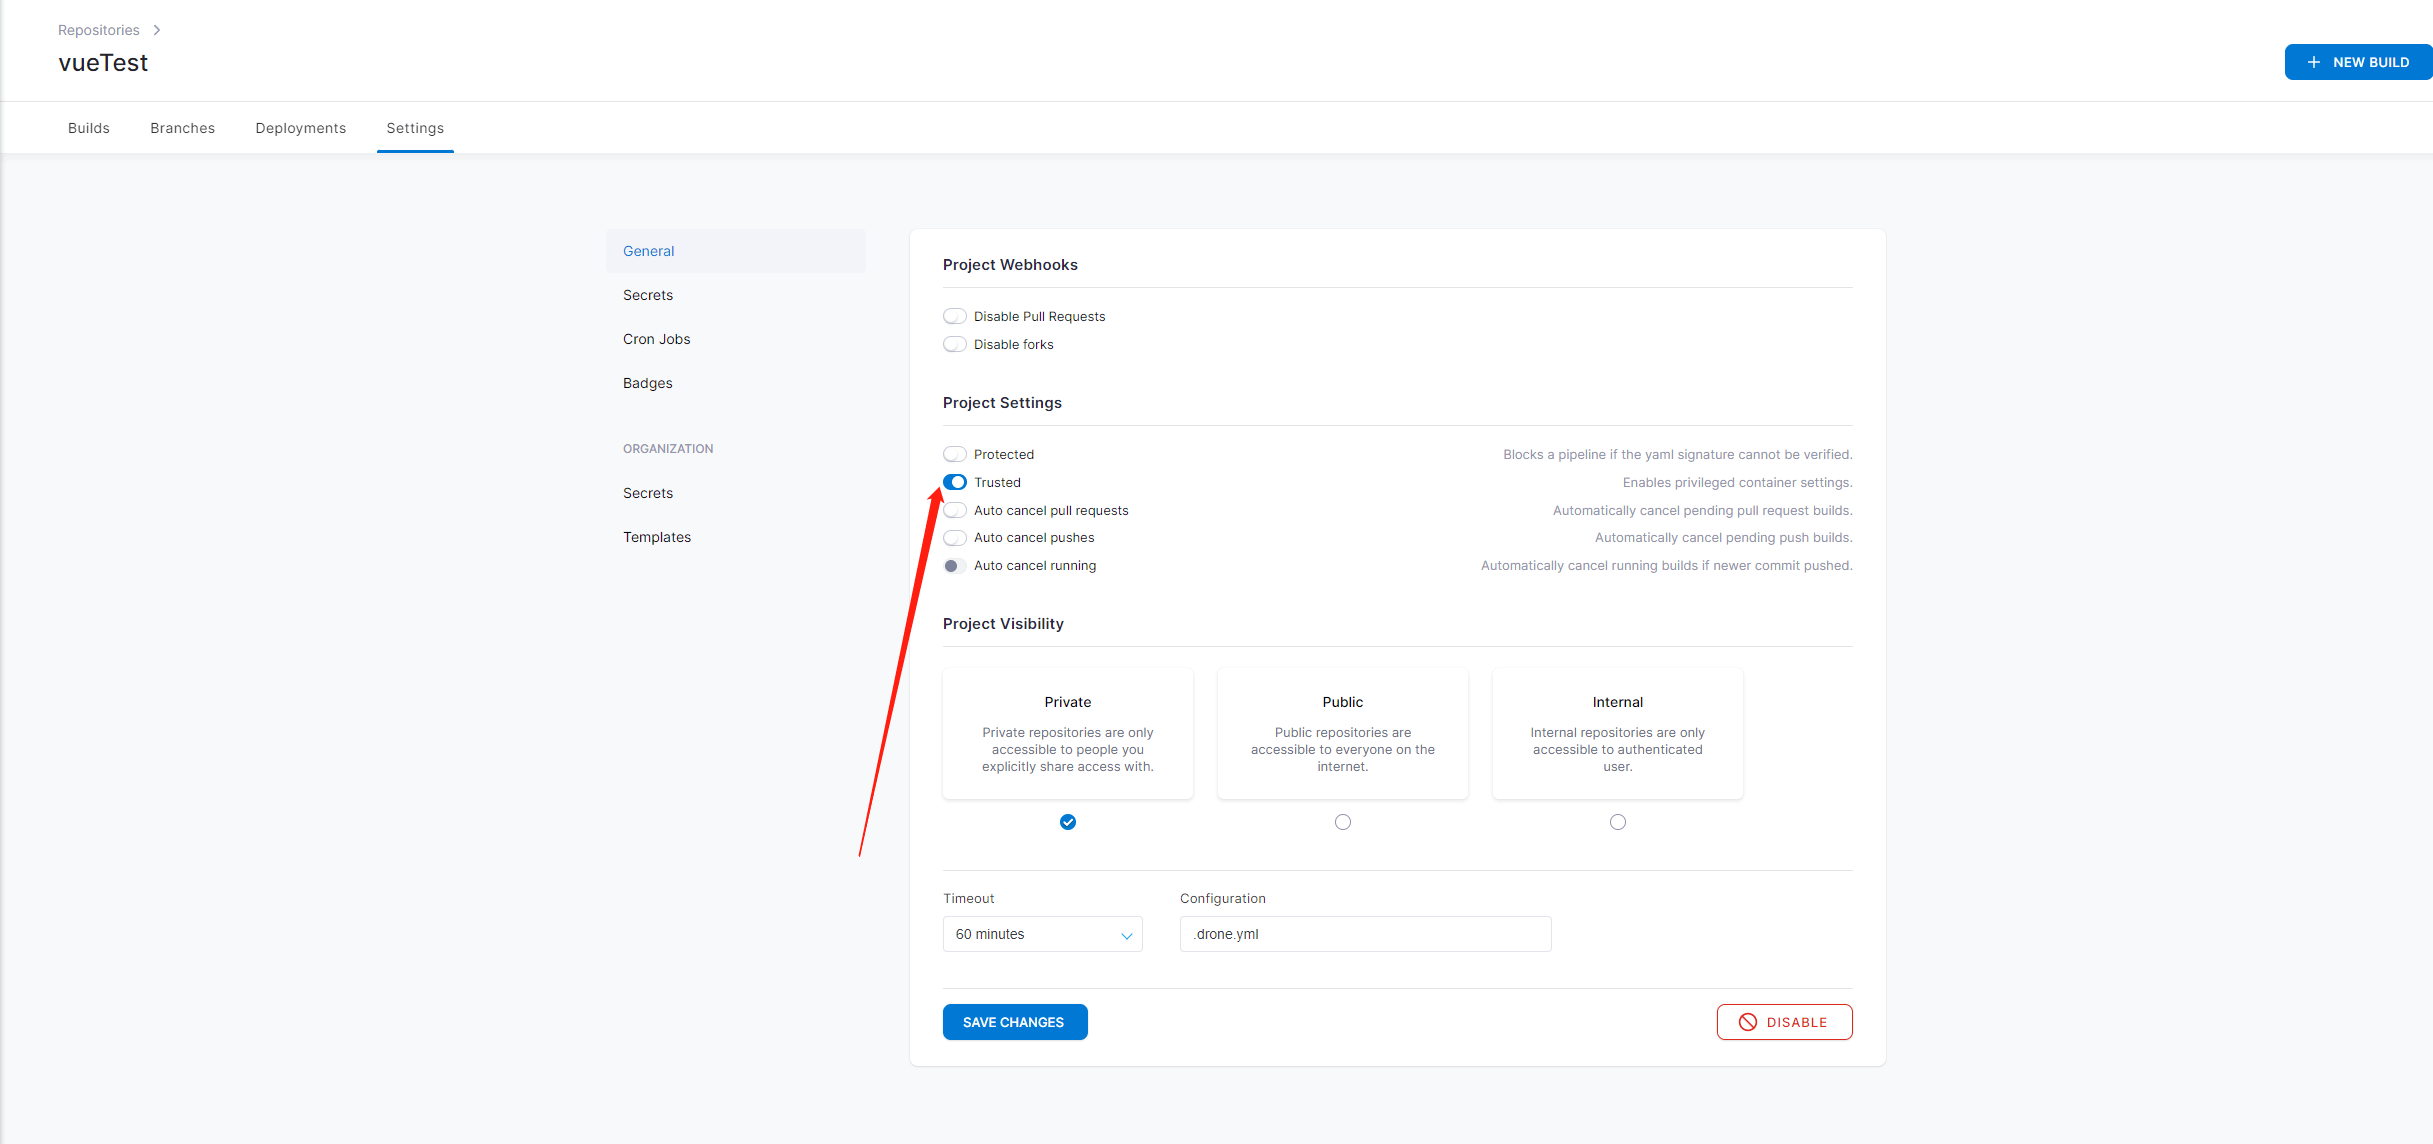
如果没开启的话,会失败。
配置里的一些配置由于为了防止泄露出去,我们可以配置在drone管理面板,在这里我跟大家说一下每个密钥对应什么配置
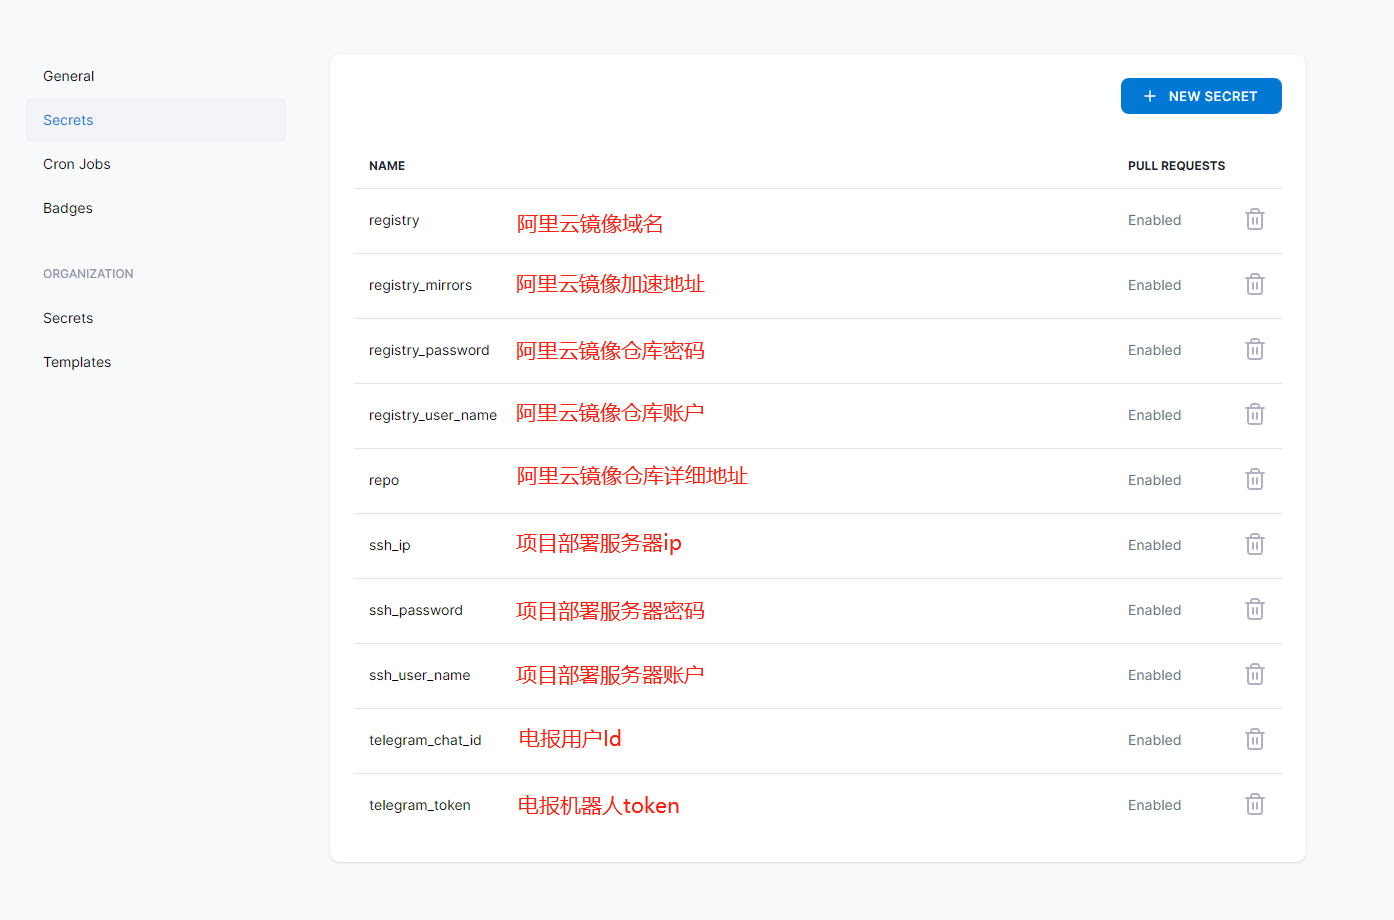
这些配置信息在构建配置文档中都会用到,由于为了速度以及稳定,项目镜像我放在阿里云镜像仓库,没有放在自建或者docker hub上,大家可以根据自己情况选择。
五、构建效果
以下就是构建的效果图
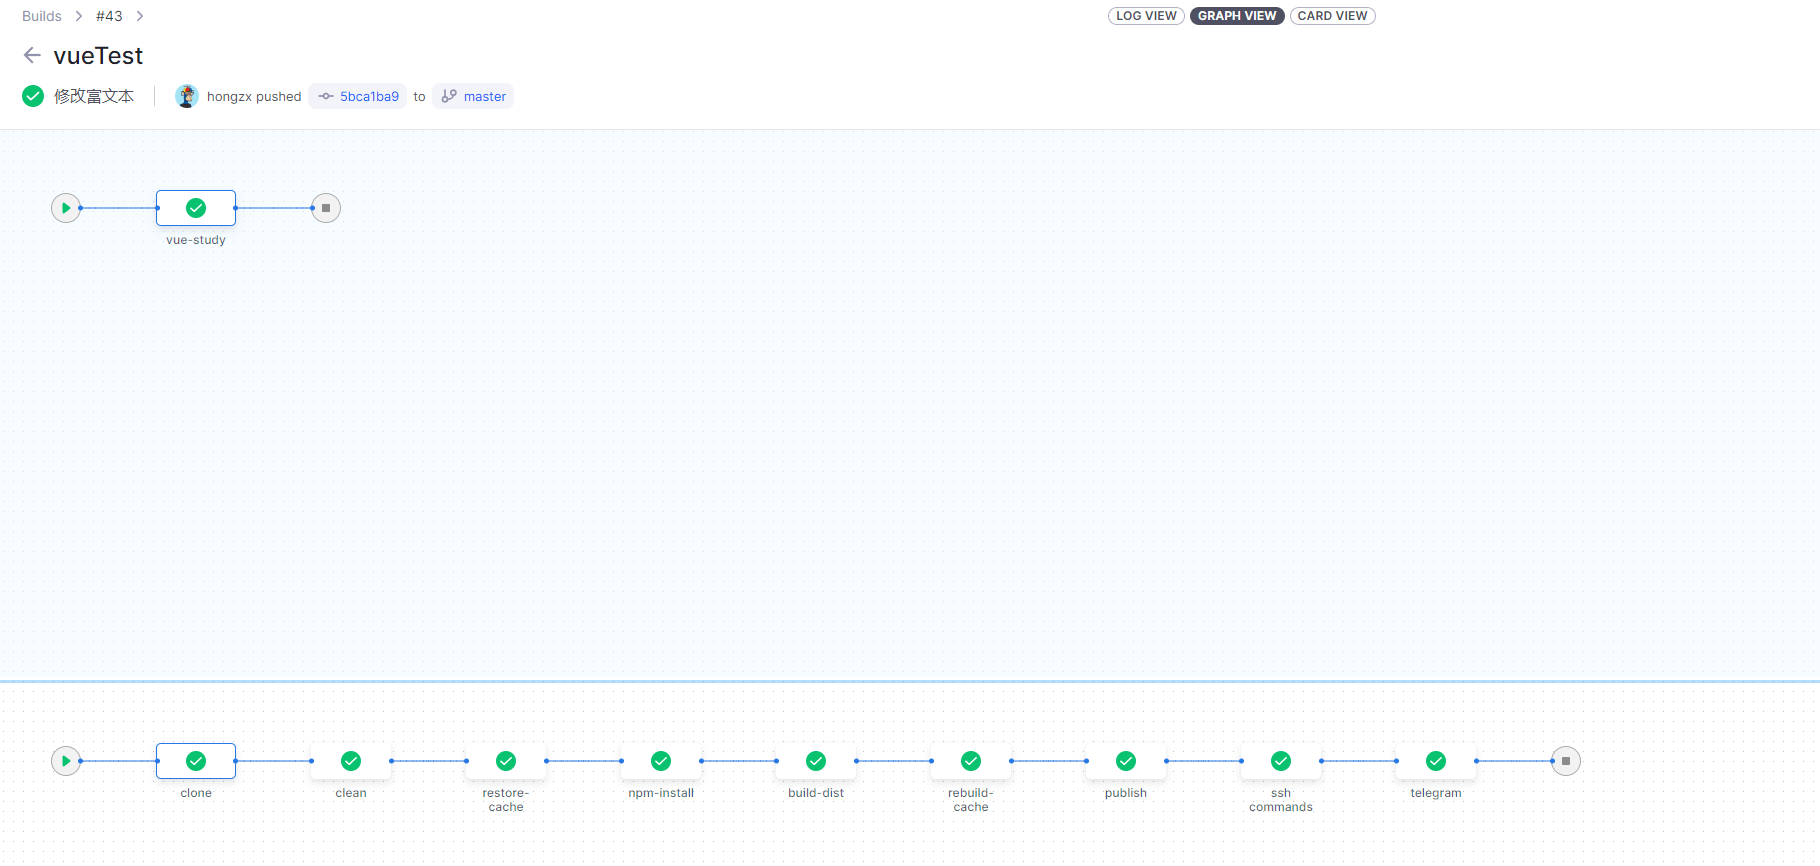
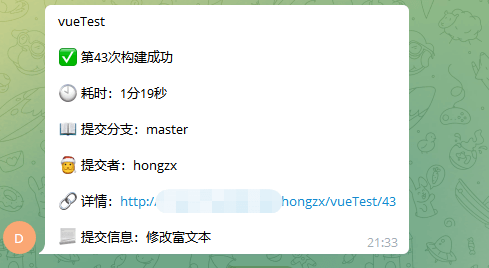
下面这个是通知效果图(用的是我自己写的镜像插件)
访问效果图
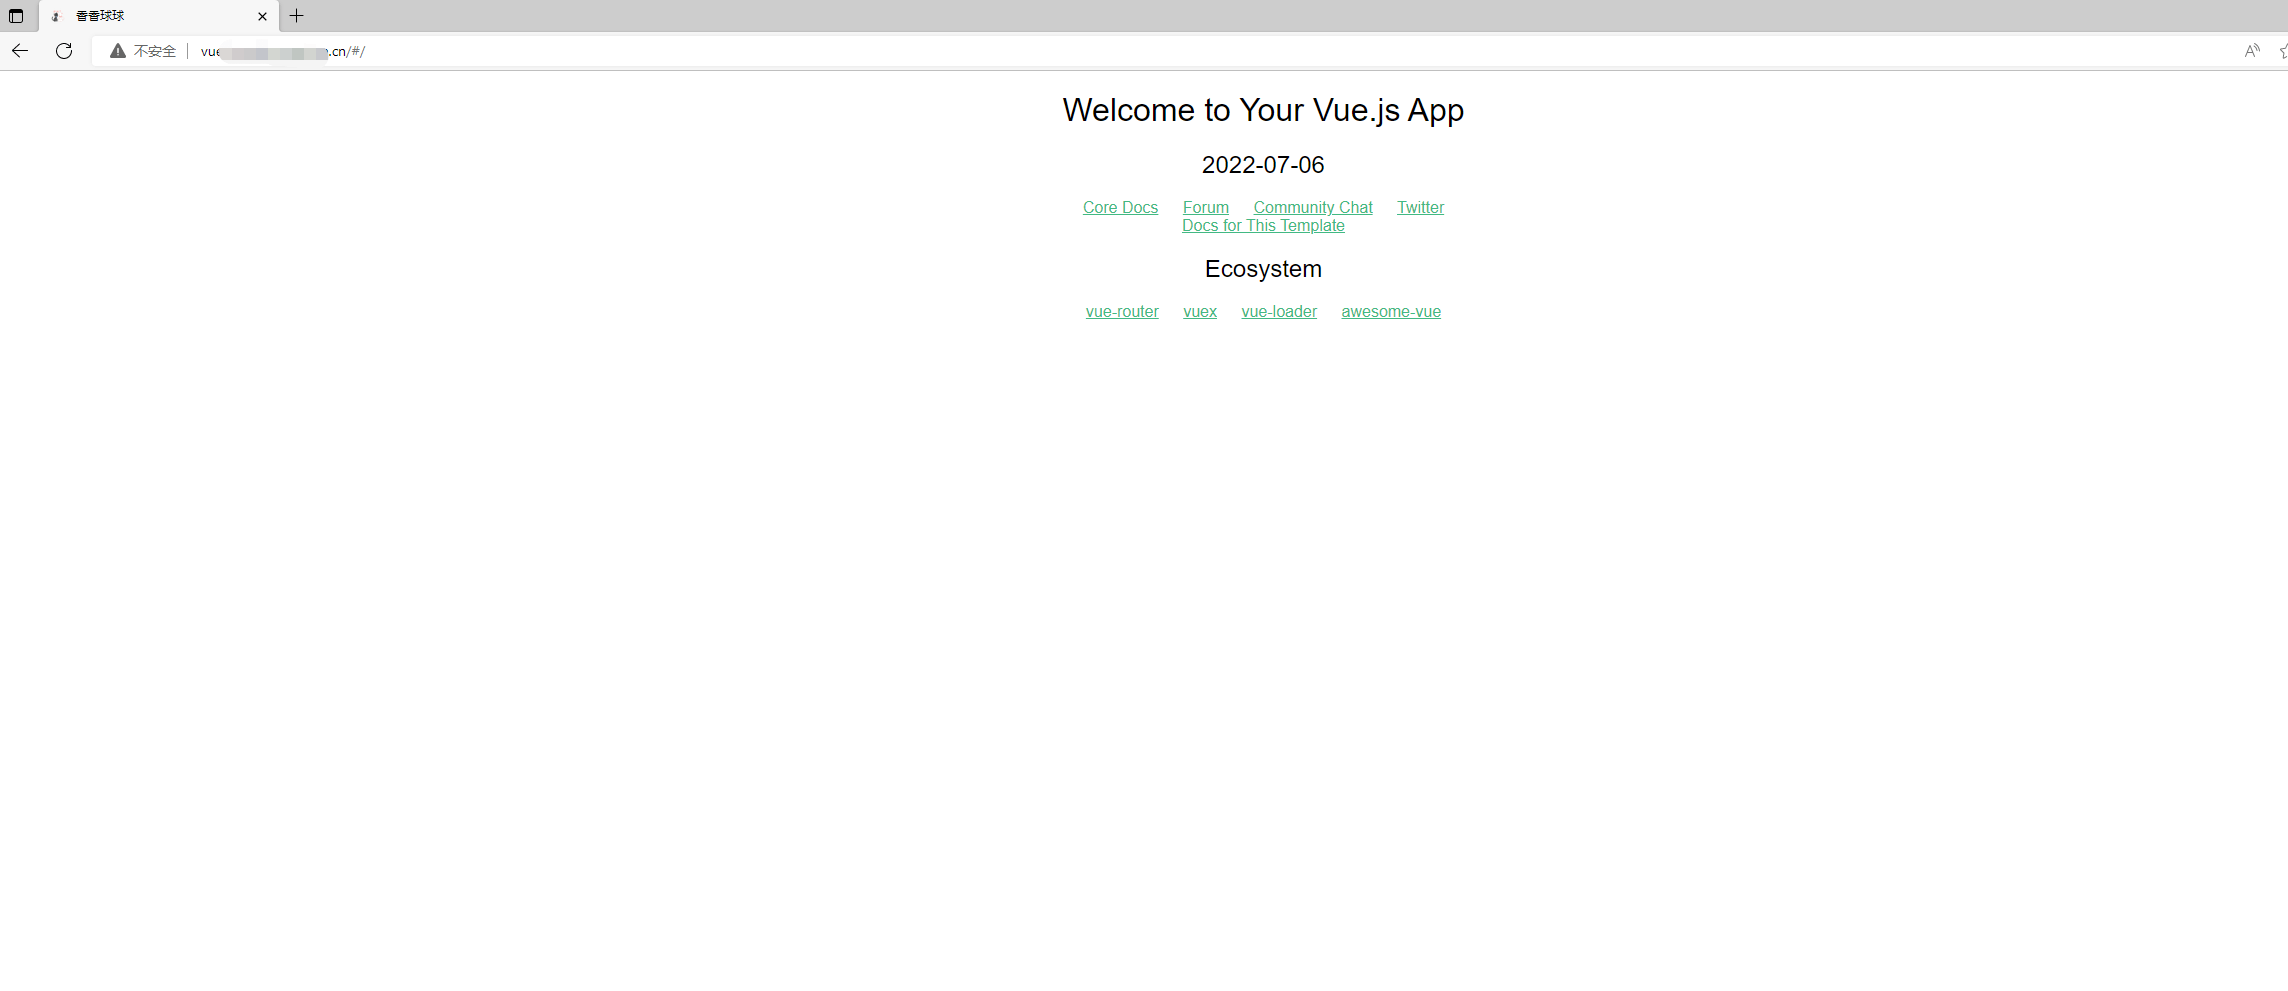
这样我们就成功的完成vue项目自动化部署。


0条评论